- On the Windows Start menu, click Run.
- In the Run dialog box, type inetmgr, and then click OK. The Internet Information Services console starts.
- In the Internet Information Services console, expand the node corresponding to your computer in the tree-view, and then expand Web sites.
- Right-click Default Web Site, point to New, and then click Virtual Directory. The Virtual Directory Creation Wizard starts.
- In the Welcome to the Virtual Directory Creation Wizard page, click Next.
- In the Virtual Directory Alias page, type ProductsService, and then click Next.
- In the Web Site Content Directory page, click Browse, select the folder Microsoft Press\WCF Step By Step\Chapter 1\ProductsService\ProductsService under your \My Documents folder, click OK, and then click Next.
- In the Access Permissions page, accept the default values, and then click Next.
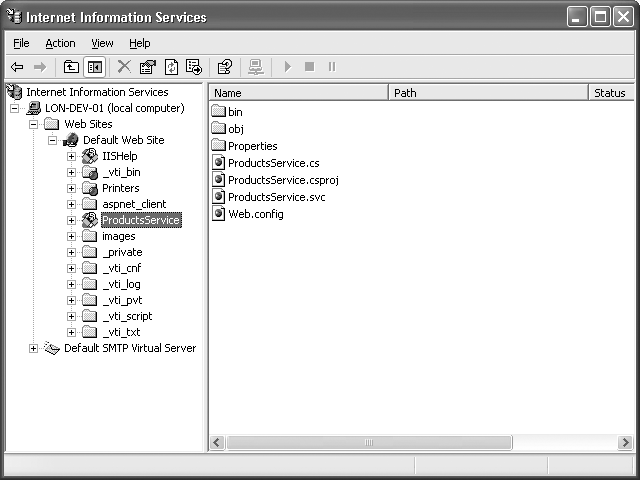
- In the You have successfully completed the Virtual Directory Creation Wizard page, click Finish. The ProductsService virtual directory should appear under the Default Web site node in the Internet Information Services console:
- Close the Internet Information Services console.
You can now verify that you have correctly configured and deployed the service. The simplest way to check this is to use Internet Explorer to browse to the Web service.
Steps to Deploy the WCF service to IIS on Windows XP
Tagged Internet Information Services (IIS), Windows Communication Foundation (WCF). Bookmark the permalink.